
Is your iPhone storage full because of Photos and Videos? Or, do you want to reset your iPhone? Then, read this article to transfer all Photos and Videos From iPhone to Windows PC.
Yes, after connecting the iPhone to a Windows PC via lightning or Type C Cable. You can access the internal storage of your iPhone. Inside it, you can find multiple folders. From these folders, you can copy Images on your PC. But, your Images will get scattered around multiple folders. However, if you want all your Photos and Videos within a single folder, then there are better ways around it. Yes, you can use AirDrop to transfer Photos and Videos from iPhone to Mac. And, on Windows, you can use ShareDrop or SnapDrop Web Services. But, these services aren’t as fast as AirDrop.
If you store your Photos and Videos on iCloud or Google Photos. Then, by opening iCloud or Google Photos in the Web Browser, you can download Photos and Videos on a PC. However, since iCloud offers only 5GB of free storage. So, it’s not possible to back up all your data for free. But, no worries, you can locally backup all your iPhone Photos and Videos to Windows PC with one click. Now, you can also transfer the iPhone Note to Windows.

Import all Photos and Videos from iPhone to Windows 11 PC
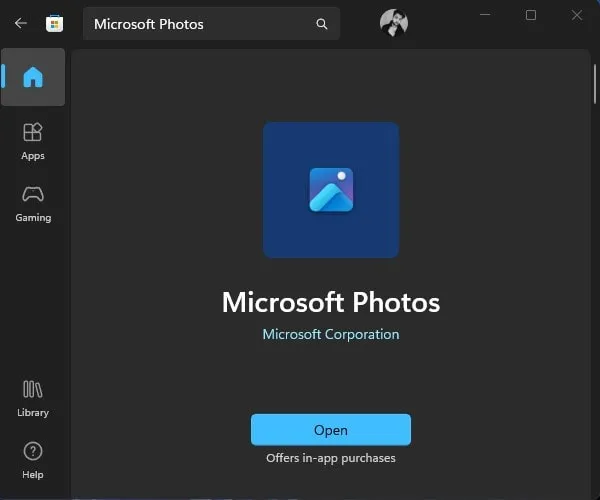
- First, open the Microsoft Store and search for the Microsoft Photos App. Make sure the app is up-to-date.
- Now, connect your iPhone to Windows Computer via Cable. You will see “Trust this Computer” popup on your iPhone. Tap on Trust.

- After that, enter your iPhone Passcode.

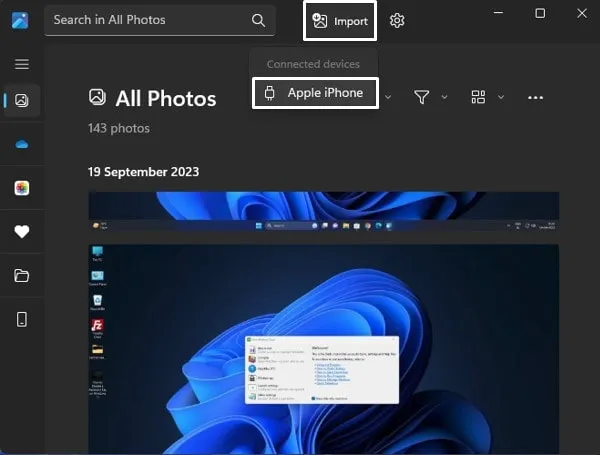
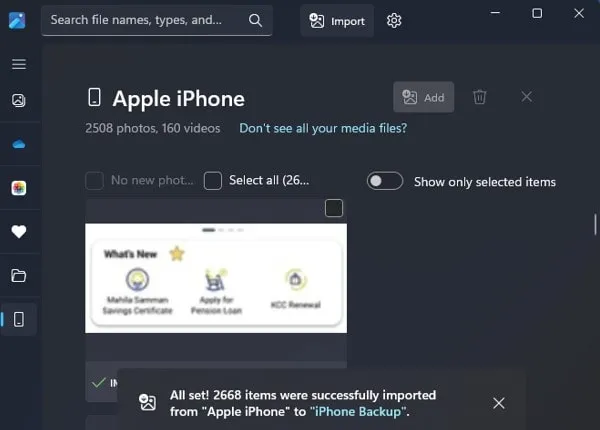
- Open the Microsoft Photos App and click on Import. You will see your “Apple iPhone” in connected devices, click on it.
- Photos App will now start loading all your Photos and Videos from your iPhone.
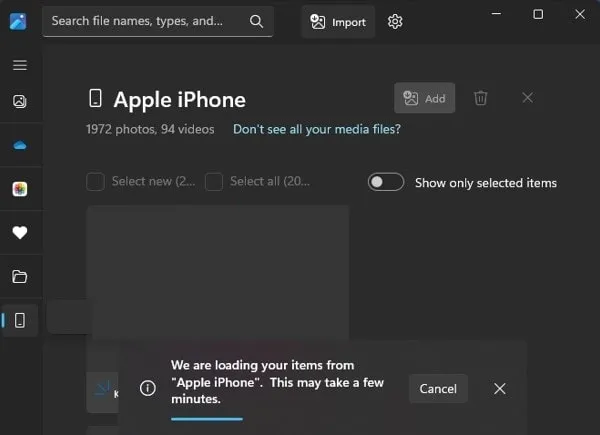
- Once, the Photos App loads all your Photos and Videos. Click on the “Select All” option. This option will select all your Photos and Videos, yes you can selectively choose Photos as well.
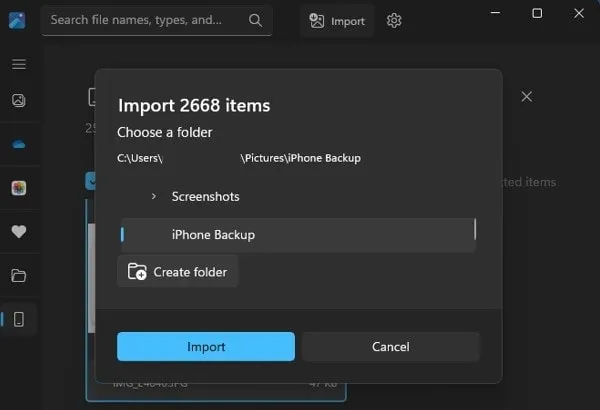
- Click on Add Items.

- The import Items window will open. You have to choose a folder to import images. You can also click on “Create Folder” to create a new folder. Like, I have created an “iPhone Backup” folder inside the Photos directory. After selecting the desired path, Click on Import.
- That’s it, The Photos App will now start importing all your Photos and Videos to Windows 11 Computer.
- Once the import process is successfully completed. You can access Photos and Videos inside the Photos App itself. Or, you can open File Explorer and look for the folder that you’ve created.
Okay, so that’s how you can easily Transfer all your iPhone Photos and Videos to your PC. You just need to use the Import feature of the Microsoft Photos App. Alternatively, you can use File Explorer, if you’re using an older version of Windows.